Your Complete Guide to the Roof Replacement Process
Getting a new roof is one of the biggest home improvement projects you will ever take on. If you have never been through the process before, it is natural to have questions about what happens, how long it takes, and what you need to do as a homeowner. I have led hundreds of roof replacement projects across Meridian and the Treasure Valley, and I want to walk you through exactly what to expect at every stage.
Step 1: The Initial Inspection and Estimate
Every roof replacement begins with a thorough inspection. A reputable contractor will come to your home, inspect the roof from both the ground and on the roof itself, and assess the condition of your shingles, flashing, decking, ventilation, and gutters.
At Bork Roofing, our inspections take about 30 to 45 minutes. We use a combination of hands-on inspection and measurement technology to get accurate dimensions of your roof. After the inspection, we prepare a detailed, written estimate that breaks down the cost of materials, labor, disposal, and any additional work that may be needed.
This estimate should be free with no obligation. If a contractor pressures you to sign on the spot, that is a red flag.
Step 2: Material Selection
Once you decide to move forward, the next step is choosing your materials. This is one of the most important decisions in the process, and it is worth taking your time.
For most Meridian homeowners, the choice is between architectural asphalt shingles and metal roofing. Within each category, there are different grades, colors, and profiles to choose from. We bring physical samples to your home so you can see how different options look against your siding, trim, and landscaping.
Your contractor should also recommend the right underlayment, ventilation components, and flashing materials. These are the parts you do not see once the roof is finished, but they are critical for long-term performance in Idaho’s climate.
Step 3: Scheduling and Preparation
Roof replacement season in the Treasure Valley typically runs from April through November, with peak demand in late spring through early fall. We schedule based on weather windows and our current workload, and we will give you a specific start date with as much advance notice as possible.
Before the crew arrives, here is what you should do to prepare:
- Move vehicles out of the driveway and away from the house to avoid falling debris
- Remove or protect items near the exterior walls, including patio furniture, grills, and planters
- Secure loose items in your attic since hammering and movement on the roof can shake things loose
- Let your neighbors know about the upcoming work, since it can be noisy
- Plan for pets and children to be away from the property during the most active parts of the work
- Clear a staging area for the dumpster and material delivery, usually on the driveway
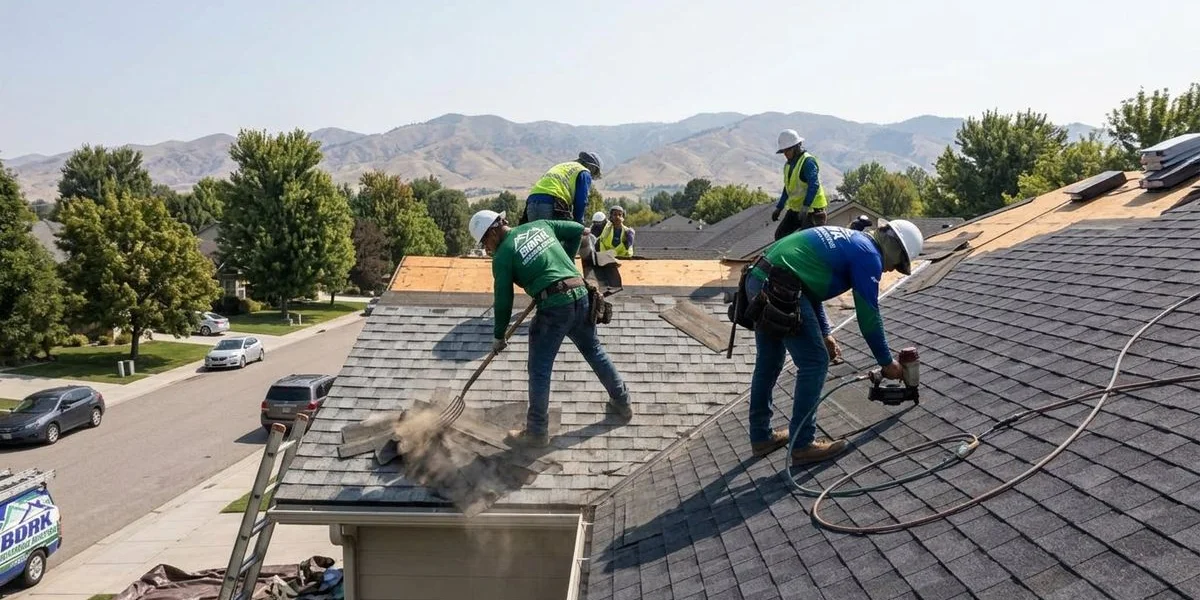
Step 4: Tear-Off Day
This is the most dramatic part of the process. The crew arrives early, typically between 7:00 and 7:30 AM, and begins stripping the old roofing material off your home. For a standard Meridian home, the tear-off takes most of the first day.
Here is what happens during tear-off:
- Protective tarps are laid around the perimeter of your home to catch debris
- Old shingles and underlayment are removed down to the bare decking
- Decking is inspected for damage, rot, or soft spots
- Damaged decking is replaced with new plywood (this is common and usually included in the estimate as a potential cost)
- All debris is loaded into a roll-off dumpster on site
Tear-off is loud. There is hammering, scraping, and the constant sound of material being loaded into the dumpster. If you work from home, plan to work from a coffee shop or a quieter location for the day.
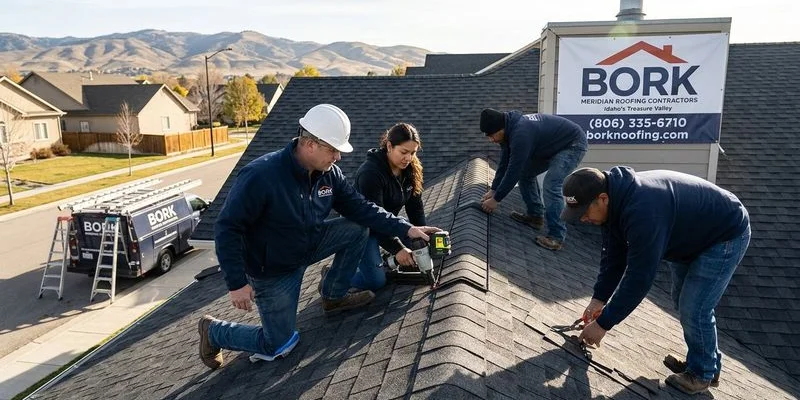
Step 5: Installation
Once the deck is clean and any repairs are made, installation begins. This is where the craft of roofing really shows. The process follows a specific order:
- Ice and water shield is applied along eaves, valleys, and around penetrations. In Idaho, this is especially important for preventing ice dam damage during winter.
- Synthetic underlayment is rolled out over the entire roof deck, providing a secondary water barrier.
- Drip edge is installed along the eaves and rakes.
- Starter shingles are applied along the eaves.
- Field shingles are installed row by row from the bottom up.
- Hip and ridge cap shingles are installed along all ridges and hips.
- Flashing is installed or replaced around chimneys, vents, skylights, and wall transitions.
- Ridge vent or other ventilation components are installed.
For a standard home, installation typically takes one to two days depending on the roof’s complexity and the weather.

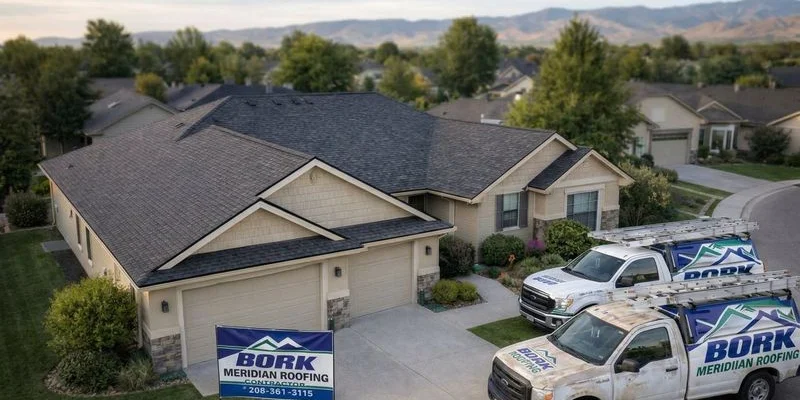
Step 6: Cleanup and Final Inspection
A professional roofing crew does not leave your property until it is clean. This includes:
- Magnetic sweeps of your yard, driveway, and sidewalks to pick up any stray nails
- Removal of all debris and the dumpster
- Inspection of the finished roof from both the ground and on the roof
- Gutter cleaning to remove any debris that may have fallen in
- Walkthrough with you to review the completed work and answer any questions
At Bork Roofing, I personally inspect every completed job before we consider it finished. I check the shingle alignment, flashing details, ventilation, and overall workmanship to make sure everything meets our standards.
Step 7: Warranty Registration and Documentation
After the project is complete, your contractor should register your manufacturer warranty and provide you with documentation that includes:
- Manufacturer warranty certificate for your roofing materials
- Workmanship warranty from your contractor
- Before and after photos of the project
- Invoice and receipt for your records
Keep these documents in a safe place. They are valuable if you ever need to file an insurance claim or sell your home.
How Long Does the Entire Process Take?
From the initial inspection to the final cleanup, here is a typical timeline for a Meridian roof replacement:
- Inspection and estimate: 1 to 3 days
- Material selection and ordering: 1 to 2 weeks
- Scheduling: 1 to 4 weeks (depending on season)
- Active work on your roof: 1 to 3 days for most homes
- Final inspection and warranty registration: Same day as completion
The active work on your roof is the shortest part. Most of the timeline is in the planning and scheduling phases.
Ready to Get Started?
A roof replacement does not have to be stressful. When you know what to expect and work with a contractor who communicates clearly throughout the process, it is a straightforward project that protects your home for decades to come.
Contact Bork Roofing today for your free inspection and estimate. We will walk you through every step and make sure you feel confident before, during, and after your new roof is installed.